How to Monitor a Page for Visual Changes
Learn how to monitor a webpage for visual changes effectively.
27 May, 2024

How to Monitor a Page for Visual Changes
Visual monitoring is a critical aspect of maintaining a professional and engaging website. It ensures that your webpages remain visually consistent and appealing to visitors. However, manually monitoring visual changes can be time-consuming and prone to errors.
Why Visual Monitoring Matters
Before we delve into the steps, let's discuss why visual monitoring is essential:
- Maintain Brand Integrity: Ensure your website consistently reflects your brand’s visual standards.
- Improve User Experience: Ensure that your website remains visually appealing and functional for visitors.
- Save Time: Automate the monitoring process, freeing up valuable time for other tasks.
How to Monitor Visual Changes Effectively
Monitoring visual changes on your website can be a daunting task, especially if you have a large site with multiple pages. However, with the right tools, you can automate this process and receive timely alerts whenever visual changes occur. Here’s how you can use WebMonitors.io to monitor your website for visual changes:
Step 1: Sign up and Log in
First, create an account on WebMonitors.io if you haven’t already. Once you’ve signed up, log in to access the dashboard.
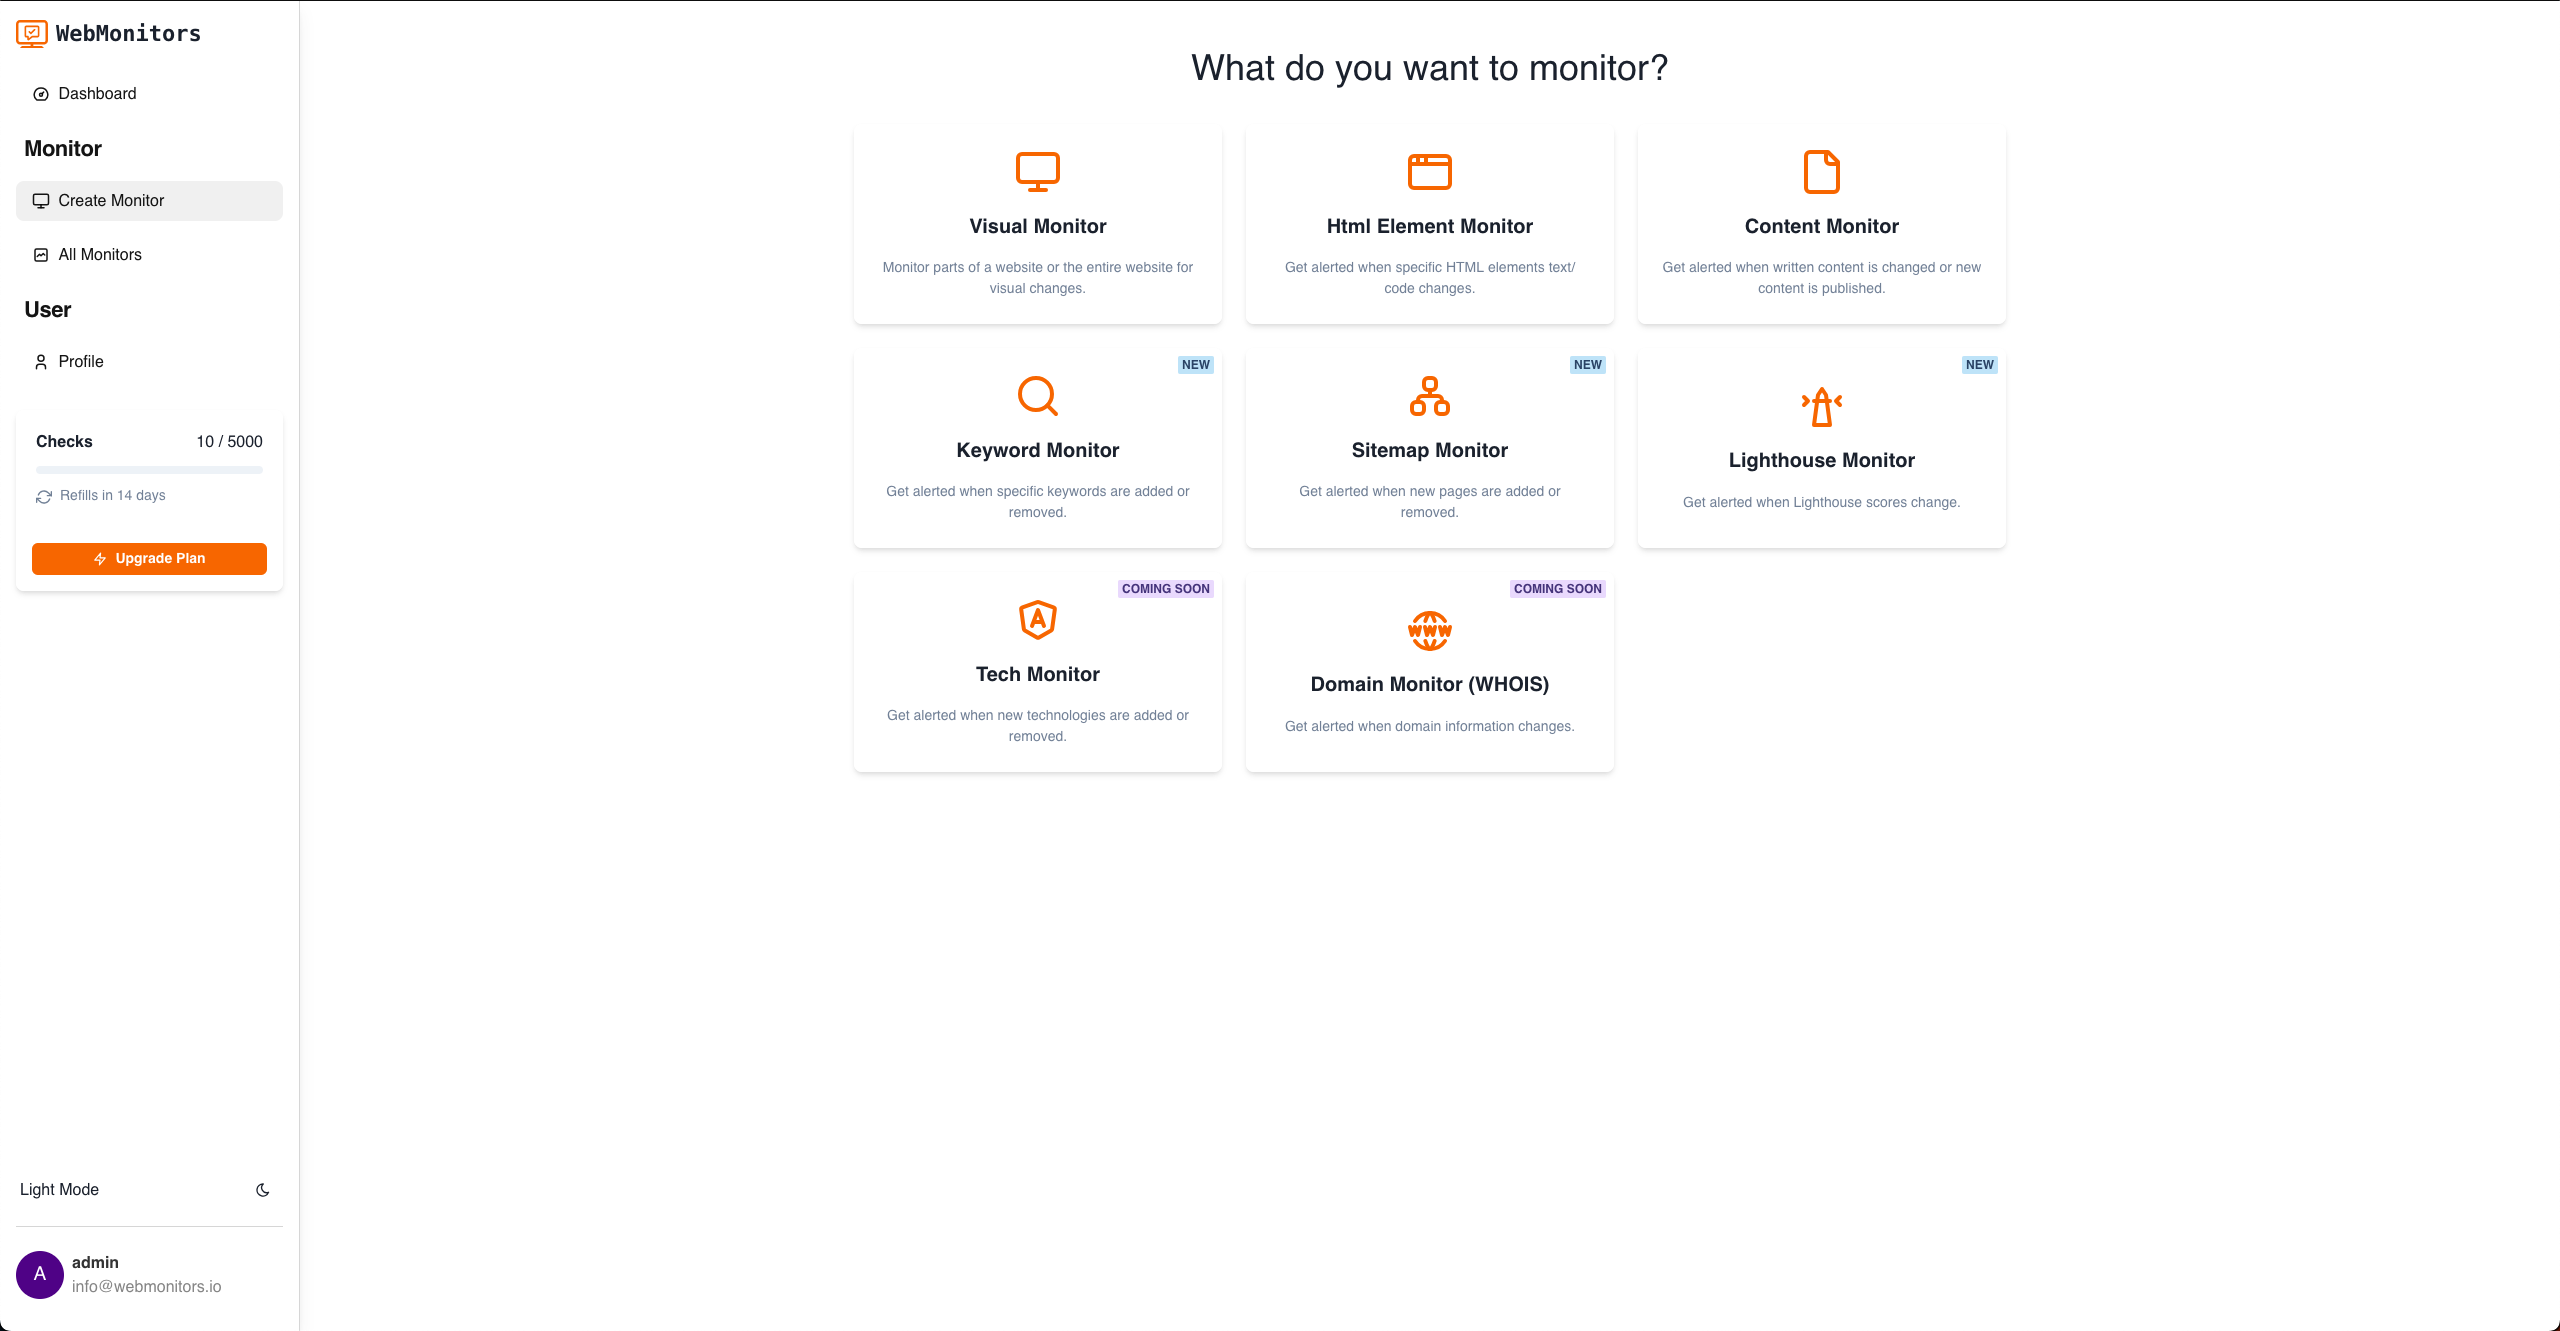
Step 2: Create a New Monitor
In the create monitor page, select the visual monitor.

Step 3: Set up Visual Monitoring
Enter the URL of the page you want to monitor visually. Select the part of the page you want to monitor, such as the entire page or specific sections.
WebMonitors.io offers various monitoring settings to customize your monitoring process:
- Frequency: Decide how often you want to check for changes (e.g., daily, weekly).
- Change Sensitivity: Set the sensitivity level for changes (minor tweaks vs. significant changes).
- Check Locations: Choose where you want the monitoring to take place (different geographical locations).
- Device Types: Monitor how the page appears on different devices (desktop, mobile).
- Notification Preferences: Choose how you’d like to be notified (email, slack, discord, etc.).

Step 6: Save and Start Monitoring
Review your settings to ensure everything is configured correctly. Once you’re satisfied, save the settings and start the visual monitoring process. WebMonitors.io will begin taking snapshots according to your specified frequency.
Step 7: Review Visual Change Reports
WebMonitors.io will provide detailed reports highlighting any visual changes detected. Regularly check these reports to stay on top of any alterations. The tool will present before-and-after snapshots, making it easy to see exactly what has changed.
Benefits of Using Webmonitors.Io for Visual Monitoring
Using WebMonitors.io for visual monitoring offers several advantages:
- Automated Monitoring: Set it up once and let the tool handle the rest, saving you time and effort.
- Accurate Detection: The tool’s advanced algorithms ensure precise detection of visual changes.
- Comprehensive Reports: Detailed reports with before-and-after snapshots help you quickly identify changes.
- Customizable Settings: Tailor the monitoring process to your specific needs, focusing on critical areas of your website.
Wrapping up
Visual monitoring is essential for maintaining the integrity and professionalism of your website. With WebMonitors.io, you can automate this process, ensuring that any visual changes are quickly detected and addressed. Follow the steps outlined above to set up visual monitoring and enjoy the peace of mind that comes with knowing your website’s visual elements are under constant watch.